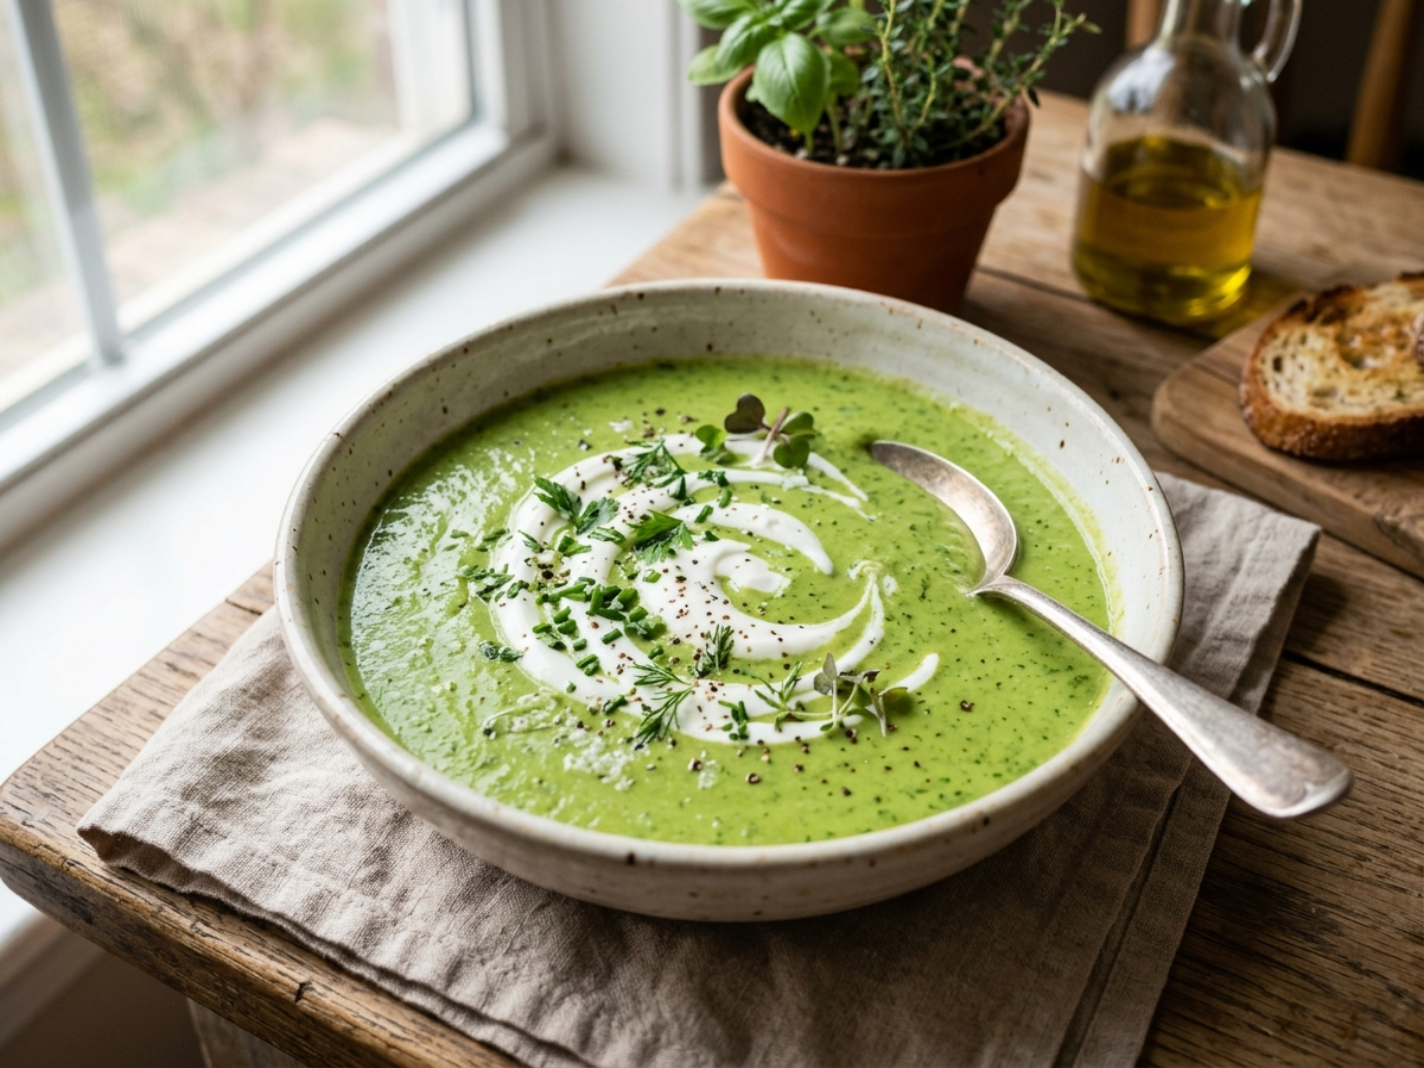
Fresh, creamy and perfect dinner recipe for a light spring meal
If you’re looking for a light, creamy, and nourishing soup that feels fresh and satisfying, this Green Goddess Spring Soup is exactly what you need.
It’s packed with green vegetables, blended into a smooth and velvety texture, and finished with a light creamy touch that makes it feel indulgent without being heavy.
I’ve made this spring soup so many times, especially when I want something warm but still fresh and “spring-like”, and it never disappoints.
If you’re trying to stay in a calorie deficit, feel lighter, and still enjoy satisfying meals without feeling restricted, check my free guide:
3 Habits That Make Meals Lighter
Table of Contents
Why this recipe works
This spring soup works because it combines:
- fresh green vegetables
- creamy texture without heavy cream
- light but satisfying ingredients
- simple and quick preparation
The balance between freshness and creaminess is what makes it addictive.
Calories & Protein (per serving)
- Calories: ~220 kcal
- Protein: ~11 g
Tools you’ll need
- Knife (I always recommend this set from Amazon)
- Cutting board
- Large pot
- Blender or immersion blender (I always use one like this, it makes soups perfectly smooth in seconds)
- Glass jar (perfect if you want to prepare and store the dressing or toppings)
Ingredients
- 2 cups zucchini (chopped)
- 1 cup broccoli florets
- 1 cup spinach
- ½ cup peas (fresh or frozen)
- 1 small onion
- 2 cups vegetable broth
- ½ cup Greek yogurt
- 1 tbsp olive oil
- 1 tbsp lemon juice
- salt & pepper

Instructions
1. Prepare the vegetables
Start by washing and chopping all your vegetables into similar-sized pieces.
This step may seem simple, but it really helps everything cook evenly and blend more smoothly later.
I usually keep the zucchini slightly larger because they soften very quickly, while the broccoli can be a bit smaller.
2. Cook the base
In a large pot, heat the olive oil over medium heat.
Add the chopped onion and cook for about 3–4 minutes until it becomes soft and slightly translucent.
This step builds the flavor base of the soup, so don’t rush it.
Once the onion is ready, add zucchini, broccoli, and peas.
Cook everything together for another 5 minutes, stirring occasionally.
3. Add broth and simmer
Pour in the vegetable broth and bring everything to a gentle boil.
Reduce the heat and let it simmer for about 10–12 minutes, or until all the vegetables are soft.
You’ll know it’s ready when the broccoli is tender and easy to pierce with a fork.
4. Add spinach
Add the spinach at the end and let it wilt for about 1–2 minutes.
Adding it last keeps the color bright and fresh (important for that vibrant green look).
5. Blend until smooth
Transfer everything to a blender (or use an immersion blender).
Blend until smooth and creamy.
I always blend a bit longer than I think I need — this is what gives that ultra creamy texture.
6. Prepare the creamy finish (jar tip)
In a small jar, mix:
- Greek yogurt
- lemon juice
- pinch of salt
Close the jar and shake well.
I always do this in a jar because it mixes better and you can store leftovers easily.

7. Combine and adjust
Pour the blended soup back into the pot.
Add the yogurt mixture and stir well.
Taste and adjust salt and pepper.
8. Serve
Serve warm with a drizzle of yogurt or olive oil on top, your perfect spring soup is ready.

Tips for the best result
- don’t overcook spinach
- blend well for creaminess
- use good broth for flavor
- add lemon at the end
Swaps
- use plant-based yogurt for dairy-free
- replace broccoli with asparagus
- add herbs like basil or parsley
- add garlic for stronger flavor
Dietary options
Vegan
Use plant-based yogurt instead of Greek yogurt.
Gluten-free
This spring soup is naturally gluten-free.
Higher protein
Add extra yogurt or blend in silken tofu.
How to make it more satisfying
If you want to turn this into a more complete meal:
- add crispy chickpeas on top
- serve with flatbread
- add tofu cubes
Storage & meal prep
This spring soup is perfect for meal prep.
Store in an airtight container in the fridge for up to 3 days.
You can also freeze it for up to 1 month.
Related recipes
If you liked this recipe, you might also enjoy:


Some links in this post may be affiliate links, which means I may earn a small commission at no extra cost to you.



Leave a Reply